
Remote IoT SSH On Android: Your Ultimate Guide
Can you truly harness the power of your Internet of Things (IoT) devices from anywhere in the world, all with the convenience of your Android smartphone? The answer is a resounding yes, and this article will illuminate the path to achieving secure and seamless remote access via Secure Shell (SSH).
The world of IoT is rapidly expanding, weaving itself into the fabric of our daily lives and professional endeavors. From smart home appliances to sophisticated industrial machinery, these connected devices offer unparalleled automation, efficiency, and convenience. However, this interconnectedness also introduces new challenges, particularly in the realm of security and remote management. Without proper safeguards, these devices can become vulnerable, potentially opening doors to malicious actors and compromising sensitive data. This is where the power of remote IoT device SSH on Android becomes truly transformative.
The implementation of SSH functionality on your Android devices is a systematic process, designed to ensure secure and efficient configuration. Here's a glimpse into the core components:
- Gymkhana Telugu Movie Updates Latest News Streaming Explore Now
- Unraveling The Rise Fall Of Jazmine Tans Persona
Key Components:
- IoT Device Configuration: Setting up your IoT device to accept SSH connections. This typically involves enabling the SSH service on the device, configuring user accounts, and potentially setting up SSH key-based authentication for enhanced security.
- Android Application: Utilizing an Android application (SSH client) to initiate and manage the SSH connection. This app serves as your interface for accessing and controlling your IoT devices remotely.
- Network Connectivity: A stable internet connection on both your Android device and your IoT device is essential for establishing and maintaining the SSH connection.
To further understand this pivotal technology, consider the information about SSH protocol:
| Feature | Description |
|---|---|
| Security | SSH provides a secure, encrypted channel for communication between the client (your Android device) and the server (your IoT device). This protects sensitive data from interception. |
| Authentication | SSH employs robust authentication methods, including passwords and SSH keys, to verify the identity of the user attempting to connect. This prevents unauthorized access to your IoT devices. |
| Remote Access | SSH allows you to remotely access and manage your IoT devices from anywhere in the world with an internet connection, offering unparalleled control and flexibility. |
| Data Transfer | SSH supports secure file transfer, allowing you to upload or download files to and from your IoT devices. |
| Port Forwarding | SSH can be used to forward ports, enabling secure access to services running on your IoT devices that are not directly exposed to the internet. |
| Command Execution | You can execute commands on your IoT devices remotely via SSH, allowing you to control and configure them from your Android device. |
Benefits of Remote IoT Device SSH on Android
- Movierulz Updates Latest Telugu Movies More Dont Miss Out
- Movierulz 2025 Latest South Indian Movies News Must Know
The advantages of utilizing remote IoT device SSH on your Android device are numerous, offering enhanced security, flexibility, and control. Here's a closer look at some key benefits:
- Enhanced Security: SSH employs encryption to protect all data transmitted between your Android device and your IoT devices, safeguarding against potential eavesdropping and unauthorized access.
- Remote Management: You can manage your IoT devices from anywhere with an internet connection, providing unprecedented flexibility and control.
- Simplified Troubleshooting: SSH allows you to remotely diagnose and troubleshoot issues with your IoT devices, saving you time and effort.
- Secure File Transfer: Transfer files securely between your Android device and your IoT devices using SSH, enabling you to update configurations and manage data.
- Increased Productivity: Remote access streamlines your workflow, allowing you to monitor and control your IoT devices without being physically present.
- Versatility: SSH is a widely supported protocol, making it compatible with a vast array of IoT devices and Android applications.
Setting up and using Remote IoT Device SSH on Android has become an increasingly essential skill for tech enthusiasts, professionals, and hobbyists alike. As the Internet of Things (IoT) continues to expand, the ability to securely access and manage remote devices from your Android smartphone is more important than ever.
For remote IoT device SSH on Android, the process involves configuring your IoT device to accept SSH connections and using an Android application to establish the connection. With the power of SSH (secure shell), you can securely access and manage your IoT devices remotely, no matter where you are.
Tools You'll Need:
- An Android Device: A smartphone or tablet running the Android operating system.
- An SSH Client for Android: Several excellent SSH client applications are available on the Google Play Store. Popular choices include ConnectBot, Termius, and JuiceSSH. These apps provide the interface for connecting to your IoT devices via SSH.
- An IoT Device with SSH Enabled: Your IoT device must be configured to accept SSH connections. This typically involves installing an SSH server on the device (e.g., OpenSSH on a Raspberry Pi), enabling the SSH service, and setting up user accounts with appropriate credentials.
- An Internet Connection: A stable internet connection is required on both your Android device and your IoT device to facilitate the SSH connection.
Once the fundamental tools are in place, setting up a remote access solution like SocketXP can provide a streamlined experience, often eliminating the need to discover the IoT device's IP address or modify firewall settings. With such platforms, all data is typically wrapped with an encrypted SSH tunnel, offering robust security. These services frequently support SSH key-based authentication, allowing for secure and efficient management of your IoT devices using familiar client tools like PuTTY.
Step-by-Step Guide to Remote SSH Access on Android (General Approach):
While specific instructions may vary depending on your chosen SSH client and IoT device, the following steps provide a general framework for establishing a remote SSH connection on your Android device:
- Install an SSH Client: Download and install an SSH client app from the Google Play Store. Choose an app that suits your preferences and requirements.
- Configure Your IoT Device: Ensure that your IoT device has an SSH server installed and configured. This might involve installing packages (e.g., `openssh-server` on a Linux-based device like a Raspberry Pi), setting up user accounts, and enabling the SSH service.
- Obtain Your IoT Device's IP Address: You'll need the IP address of your IoT device on the network to establish the SSH connection. This address can be obtained from your device's settings or your router's administration panel.
- Enter Connection Details in the SSH Client: In your chosen SSH client app, enter the following details:
- Hostname/IP Address: The IP address of your IoT device.
- Port: The SSH port (typically 22).
- Username: Your username for accessing the IoT device.
- Password (or SSH Key): The password for your user account, or the path to your SSH key if you're using key-based authentication.
- Connect and Authenticate: Tap the "Connect" button in your SSH client app. The app will attempt to establish an SSH connection to your IoT device. You may be prompted to accept the host key fingerprint (to verify the identity of the server). Enter your password or provide your SSH key when prompted.
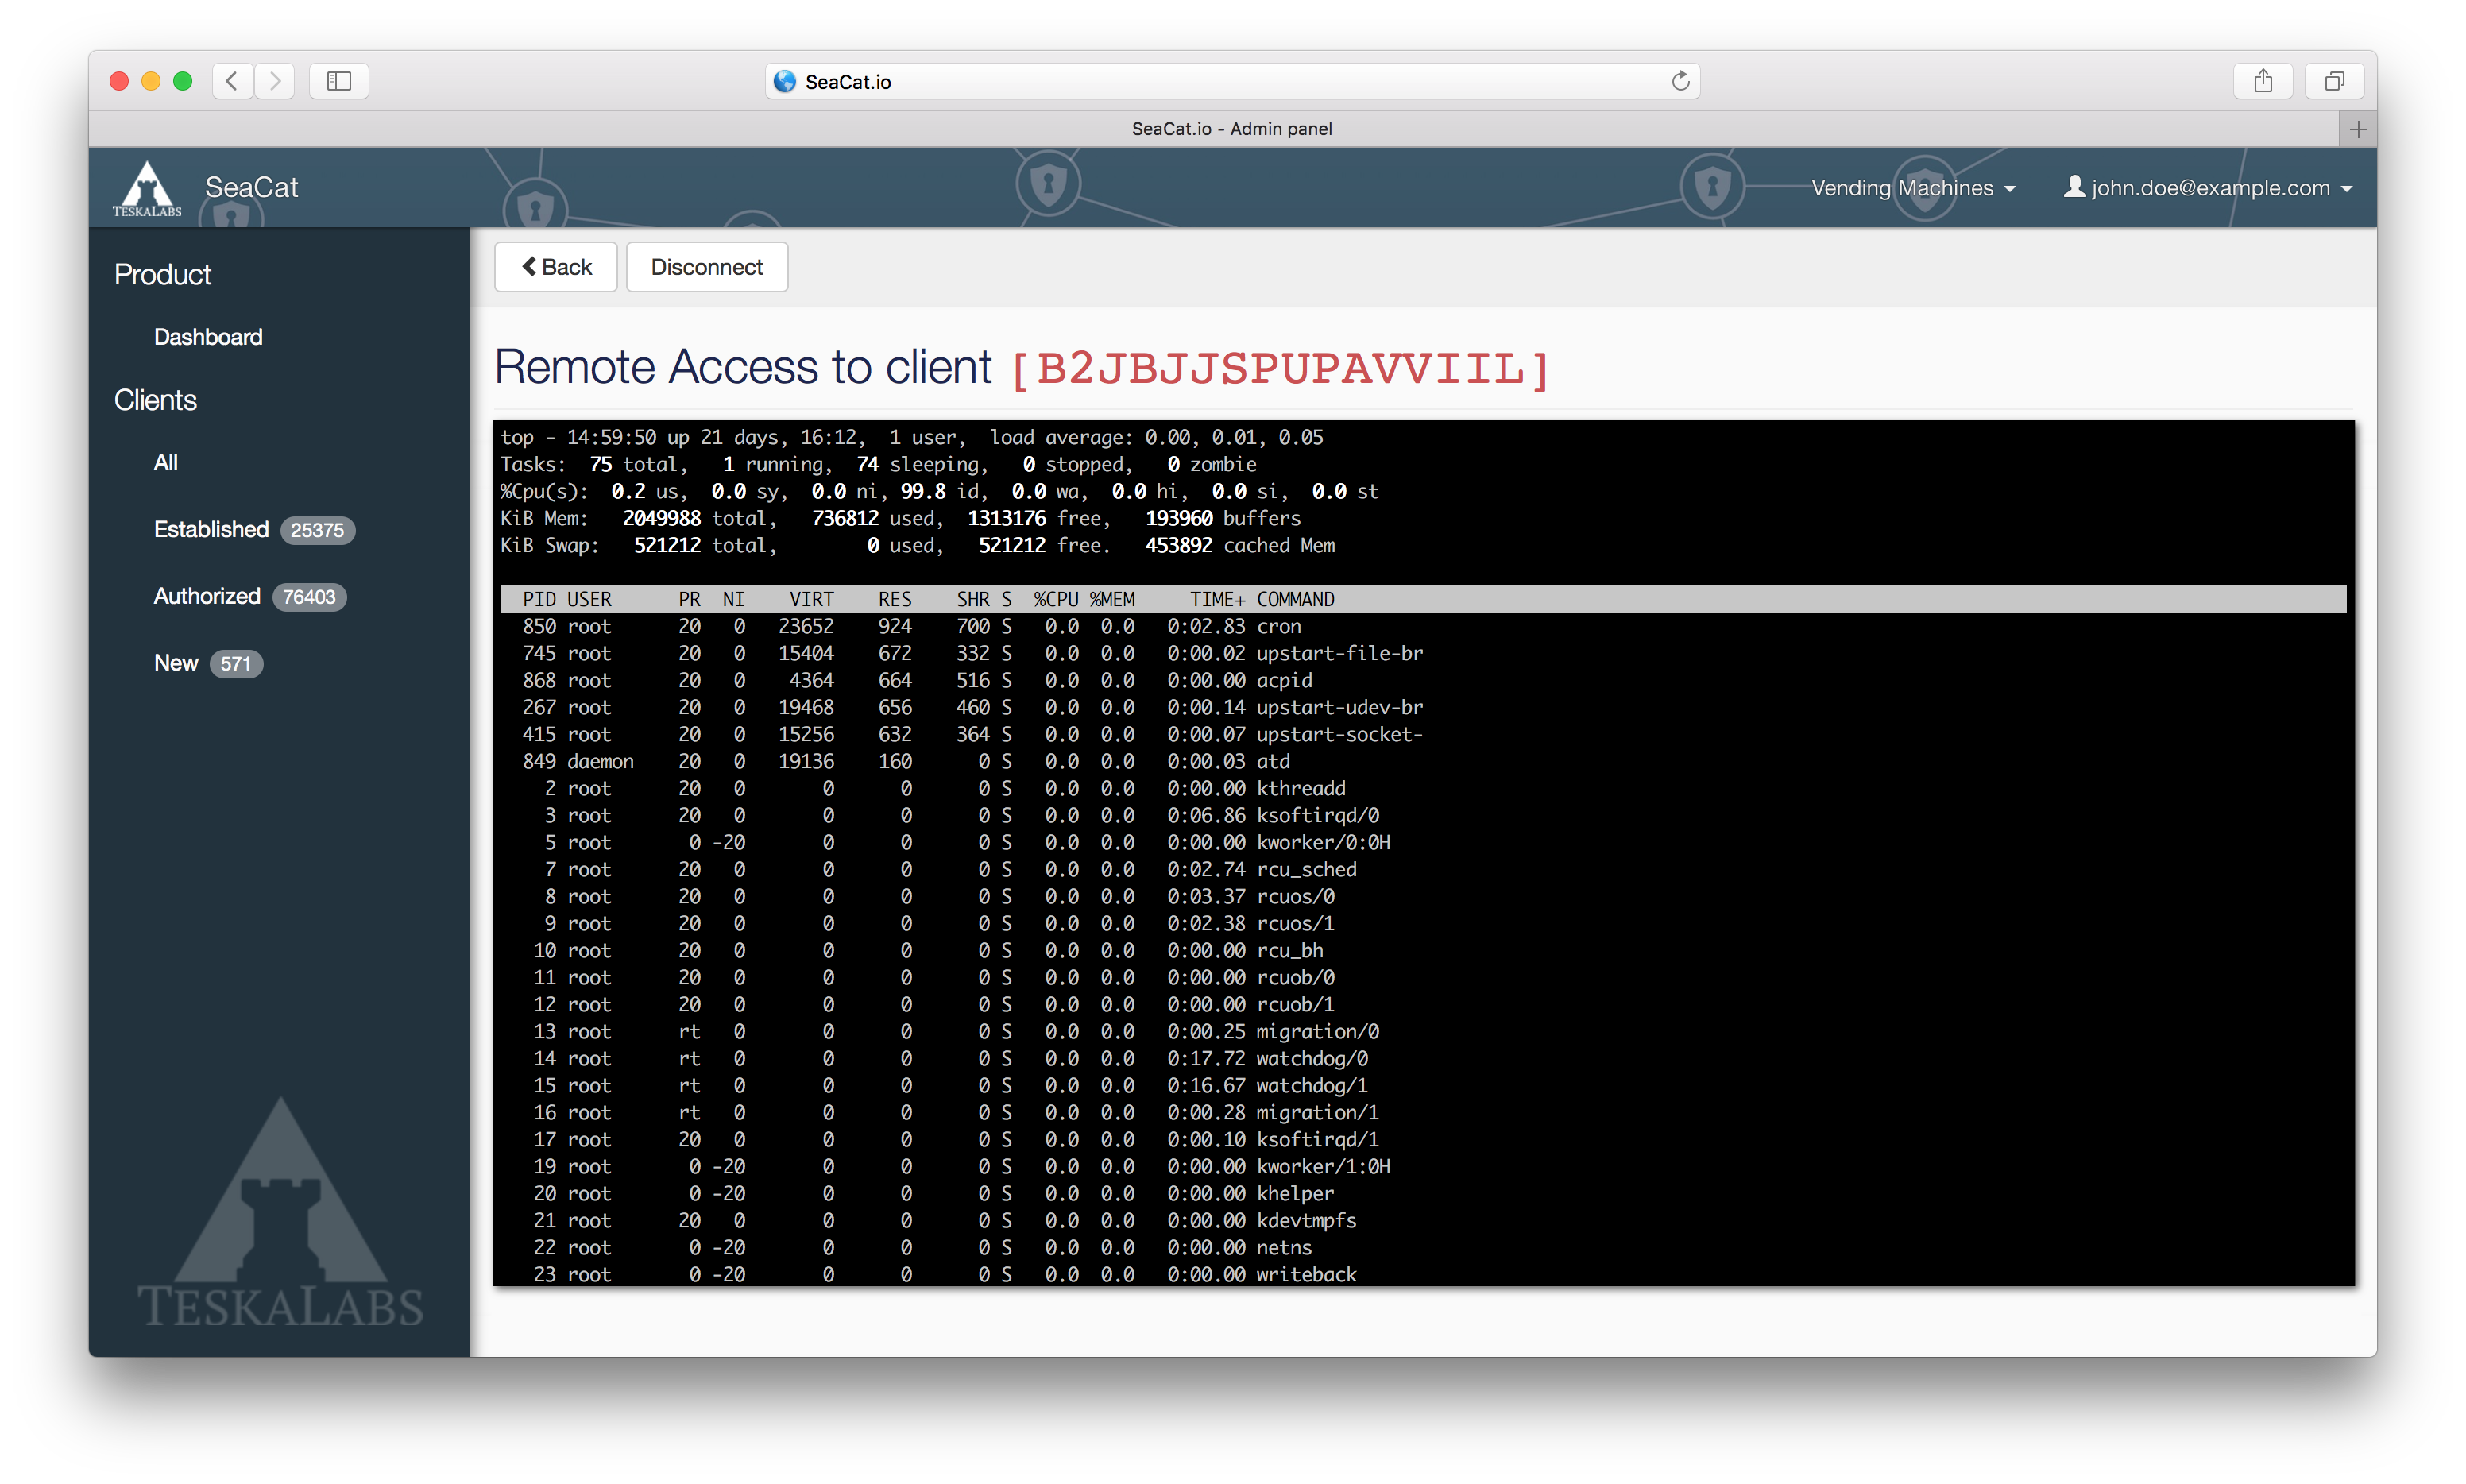
- Manage Your IoT Device: Once successfully connected, you'll see a command-line interface (CLI) or terminal. From there, you can execute commands to manage and control your IoT device.
Best Practices for Secure SSH Access:
To ensure the security and reliability of your remote SSH connections, adhere to the following best practices:
- Use Strong Passwords: Always use strong, unique passwords for your user accounts on your IoT devices. A strong password consists of a combination of uppercase and lowercase letters, numbers, and special characters.
- Implement SSH Key-Based Authentication: Whenever possible, use SSH key-based authentication instead of password authentication. SSH keys provide a more secure method of authentication and protect against brute-force attacks.
- Keep Software Updated: Regularly update the SSH server software on your IoT devices and the SSH client application on your Android device. Software updates often include security patches that address vulnerabilities.
- Disable Password Authentication (If Possible): After setting up SSH key-based authentication, disable password authentication to enhance security.
- Limit User Privileges: Create user accounts with the minimum necessary privileges on your IoT devices. Avoid granting administrative access (root) to standard users.
- Monitor SSH Logs: Regularly review the SSH logs on your IoT devices to identify any suspicious activity or unauthorized access attempts.
- Use a Firewall: If your IoT device supports a firewall, configure it to restrict access to the SSH port (typically port 22) from unauthorized IP addresses.
- Secure Your Android Device: Protect your Android device with a strong passcode or biometric authentication. Use a reputable SSH client app and avoid installing apps from untrusted sources.
- Consider a VPN: For an extra layer of security, consider using a Virtual Private Network (VPN) on your Android device before establishing the SSH connection. A VPN encrypts your internet traffic and hides your IP address.
This capability not only enhances operational efficiency but also empowers you to troubleshoot and maintain your smart systems from anywhere. The Remoteiot platform provides an intuitive interface and robust features to make this process easier. In this comprehensive guide, we will delve into the details of setting up a free remote IoT platform with SSH access for a Raspberry Pi, which is a popular platform for IoT projects.
Troubleshooting Common Issues:
Even with careful setup, you might encounter issues when establishing or maintaining SSH connections. Here are some common problems and their solutions:
- Connection Refused: This typically indicates that the SSH server is not running on your IoT device or that a firewall is blocking the connection. Verify that the SSH service is enabled, and check your firewall settings.
- Authentication Failed: This usually means you've entered the wrong username or password. Double-check your credentials and make sure you're using the correct ones. If using SSH keys, verify that the keys are correctly configured.
- Network Connectivity Problems: Ensure that both your Android device and your IoT device have a stable internet connection. Check your Wi-Fi or cellular data connection on your Android device and verify the network connection of your IoT device.
- Incorrect IP Address: Make sure you're using the correct IP address for your IoT device. If the IP address has changed, update the connection settings in your SSH client.
- Firewall Blocking: Firewalls on your IoT device or your network router might be blocking the SSH connection. Ensure that the SSH port (usually port 22) is open.
Remote Access Solutions:
Tools such as SocketXP IoT Agent is designed to simplify the process of remote SSH access. These solutions often eliminate the need to configure port forwarding on your router or deal with dynamic IP addresses, simplifying setup and making it easier to manage your devices from anywhere.
SocketXP IoT Agent
This platform is designed to streamline remote access to IoT devices. It offers the following advantages:
- No IP Discovery: Eliminates the need to find your IoT device's IP address.
- No Firewall Changes: Simplifies setup by avoiding firewall configuration.
- Encrypted Tunnel: All data is secured with an encrypted SSH tunnel.
- Secure Authentication: Supports SSH key-based or system user authentication.
- Standard Client Tools: Compatible with common SSH clients like PuTTY.
As the Internet of Things (IoT) continues to expand, understanding how to securely connect to and manage IoT devices remotely is more critical than ever. By choosing the right SSH client and following best practices, you can unlock the full potential of your Android device.
Many SSH clients, like ConnectBot, are lightweight and work well on older Android devices. Android, being one of the most widely used mobile operating systems, provides a versatile platform for managing IoT devices remotely. This guide will walk you through everything you need to know about SSH remote IoT device control on Android APKs. By the end of this article, you will have a clear understanding of how to configure SSH on your Android device, the tools you need, and best practices for ensuring secure communication. Secure shell (SSH) offers a reliable and secure way to access and manage your IoT devices from an Android device.
Whether you are a tech enthusiast, a professional, or a hobbyist, mastering remote IoT device SSH access on Android is an increasingly essential skill. It allows you to securely connect to and manage remote devices from your Android smartphone or tablet.
Article Recommendations
- Telugu Movies Movierulz Updates Latest News Streaming Info
- 2025 Telugu Movies Watch Trailers News More

Detail Author:
- Name : Miss Marjory Hessel
- Username : ljakubowski
- Email : mollie.metz@hotmail.com
- Birthdate : 2005-07-01
- Address : 8677 Eden Route West Marjory, IA 40373-1135
- Phone : 1-863-455-6933
- Company : Bergnaum PLC
- Job : Construction Equipment Operator
- Bio : Quia deserunt illum mollitia commodi. Asperiores deleniti magnam quos in qui maiores eos. Neque deserunt quae hic sed accusantium eum.
Socials
instagram:
- url : https://instagram.com/dbogisich
- username : dbogisich
- bio : Iure est cumque nobis. Aspernatur esse est maxime accusantium.
- followers : 3166
- following : 254
tiktok:
- url : https://tiktok.com/@dbogisich
- username : dbogisich
- bio : Vel et autem officiis voluptatem illum est sapiente.
- followers : 1710
- following : 84
facebook:
- url : https://facebook.com/delaney_id
- username : delaney_id
- bio : Animi omnis accusamus similique dolorum et similique est.
- followers : 3887
- following : 2480
linkedin:
- url : https://linkedin.com/in/delaney_bogisich
- username : delaney_bogisich
- bio : Illum qui consequatur veniam ea explicabo.
- followers : 354
- following : 687
twitter:
- url : https://twitter.com/delaney_official
- username : delaney_official
- bio : Architecto et nihil nihil sit. Ad optio illum quod et aliquam quo. Inventore quod omnis blanditiis dolore molestias.
- followers : 1234
- following : 2930
